ThinLinc is a powerful Linux-based remote desktop (VDI) solution that lets multiple users connect to a single Linux machine using a browser or native client. Zorin OS, with its polished GNOME-based desktop, pairs very well with ThinLinc to create a clean, stable remote desktop environment.
In this guide, you’ll deploy a full ThinLinc server on Zorin OS, configure user access, create a Zorin desktop profile, open the required firewall ports, and finally access the desktop directly from a web browser.
Prerequisites
Before you start, make sure you have the following:
-
A fresh Zorin OS system (desktop or server with GUI installed)
-
Root or sudo access
-
Internet connectivity
-
A static or public IP address (recommended for remote access)
Step 1: Create a Dedicated ThinLinc User
ThinLinc works best when you avoid using the root account for daily administration and login sessions. Instead, you’ll create a non-root user that will handle ThinLinc administration and user sessions.
1. Create the user.
adduser john
You’ll be prompted to set a password and, optionally, fill in user details such as full name and phone number. These fields are optional and can be skipped.
2. ThinLinc installation and configuration require administrative commands, so add the user to the sudo group:
usermod -aG sudo john
This allows the user to run commands with sudo when needed.
Step 2: Update the Secure Path for ThinLinc
ThinLinc installs binaries under /opt/thinlinc. By default, this path is not included in sudo’s secure path, which can cause command-not-found issues during setup and administration.
Open the sudoers file safely using nano:
nano /etc/sudoers
Find the line that starts with:
Defaults secure_path=
Update it to include ThinLinc directories:
Defaults secure_path="/usr/local/sbin:/usr/local/bin:/usr/sbin:/usr/bin:/sbin:/bin:/snap/bin:/opt/thinlinc/bin:/opt/thinlinc/sbin"
Save the file and exit.
Step 3: Switch to the ThinLinc Admin User
Now log in as the newly created user:
su - john
From this point onward, you’ll install and configure ThinLinc as this user.
Step 4: Install the ThinLinc Server
ThinLinc provides the VDI layer that allows users to connect to your Zorin OS system using a browser or ThinLinc client.
1. Download the ThinLinc server package.
wget https://www.cendio.com/downloads/server/tl-4.19.0-server.zip
2. Extract the package.
unzip tl-4.19.0-server.zip
cd tl-4.19.0-server
3. Start the installation.
sudo ./install-server
You’ll be prompted for your password. If GTK+ is unavailable, the installer will automatically fall back to text mode:
[sudo] password for john:
Press Enter to continue through the installer.
The installer will:
-
Verify system libraries
-
Install missing dependencies
-
Configure NFS client support
-
Install GTK+, PyGObject, and Python LDAP modules automatically
Answer Yes whenever prompted to auto-install missing packages. After installation, the setup wizard launches automatically.
Accept the license.
Do you accept the terms of the license agreement [yes/No]? yes
Choose server type.
Select Master since this is the primary server that users will connect to:
Server type [Master/agent]? Master
Configure external access.
Choose IP address so ThinLinc advertises the correct reachable address:
Externally reachable address to use [ip/hostname/manual]? ip
Set up the admin password.
The ThinLinc Web Administration runs on port 1010. The default username is admin. Enter your desired password.
Web Administration password?******
Set administrator email.
Administrator email []? hitjethva@gmail.com
This email receives license and system alerts.
Enable AppArmor support.
Install AppArmor configuration [Yes/no]? Yes
ThinLinc will automatically configure and start all required services.
Press Enter to complete the installation.
ThinLinc has been setup
=======================

The ThinLinc Web Administration is available at https://localhost:1010,
and the configuration files are located in /opt/thinlinc/etc/conf.d/.
Icons for the ThinLinc Web Access, ThinLinc Web Administration and
ThinLinc setup have been added to the menu.

Visit https://www.cendio.com/thinlinc/support for information on how to
contact us.

Press Enter to continue...
Confirm that all ThinLinc services are running correctly:
sudo systemctl status vsmserver
sudo systemctl status vsmagent
sudo systemctl status tlwebaccess
sudo systemctl status tlwebadm
Each service should show an active (running) status.
Step 5: Create a Zorin Desktop Profile
ThinLinc does not include a Zorin profile by default. Without this step, users won’t see Zorin as a selectable desktop environment.
Edit the profiles configuration.
sudo nano /opt/thinlinc/etc/conf.d/profiles.hconf
Locate this line:
order=unity ubuntu gnome gnome-classic kde xfce cinnamon mate lxde
Replace it with:
order=unity ubuntu gnome gnome-classic kde xfce cinnamon mate lxde zorin
Append the following block at the end of the file:
[/profiles/zorin]
xdg_session=zorin
name=Zorin
description=The Zorin desktop environment
screenshot=
cmdline=
testcmd=
description_from_testcmd=false
Save the file and reboot the system to apply the changes.
Step 6: Configure the Firewall for ThinLinc
ThinLinc requires several ports for SSH, web access, client connections, and administration.
Required ports
-
22 – SSH
-
300 – Web Access
-
9000 – ThinLinc client
-
1010 – Web Administration
Allow the ports with UFW.
sudo ufw allow 22
sudo ufw allow 300
sudo ufw allow 9000
sudo ufw allow 1010
Enable the firewall if it’s not already active:
sudo ufw enable
Verify the rules:
sudo ufw status numbered
Step 7: Access ThinLinc via Web Browser
With everything configured, you can now access your Zorin desktop remotely.
1. Open your web browser on your local system and access the Zorin remote desktop using the URL https://your-server-ip:300. You will be redirected to the Zorin desktop login screen.
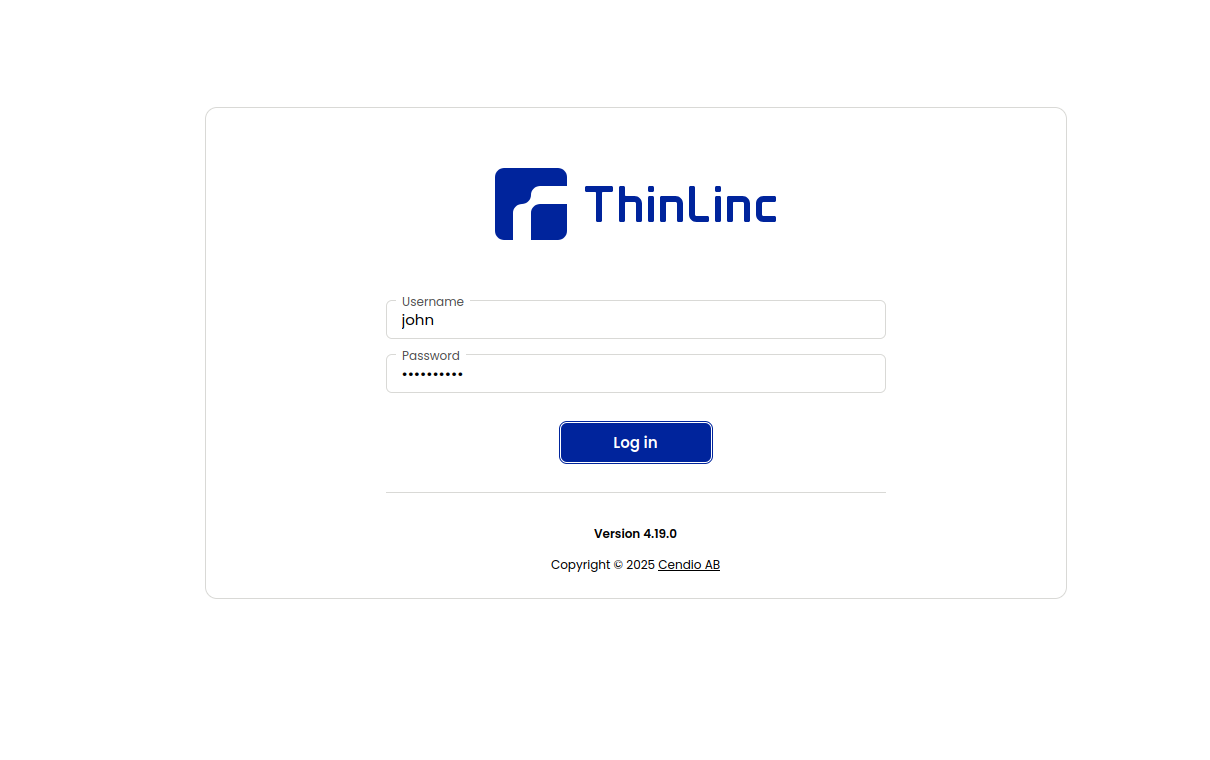
2. Enter the following details in the login screen.
Username – john (or another user you created).
Password – the user’s password.
3. Click Login. You will see the ThinLinc profile chooser screen.
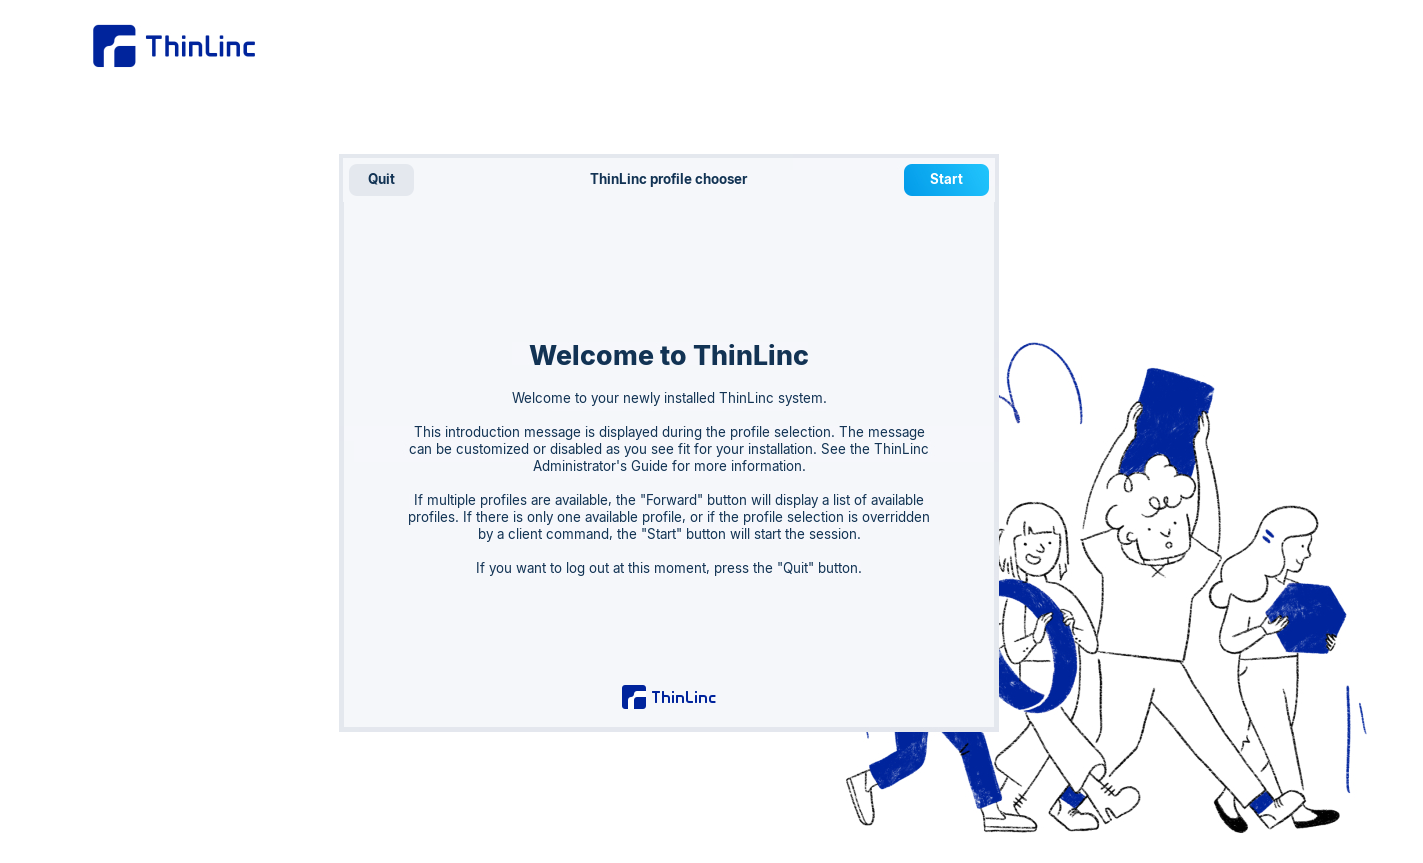
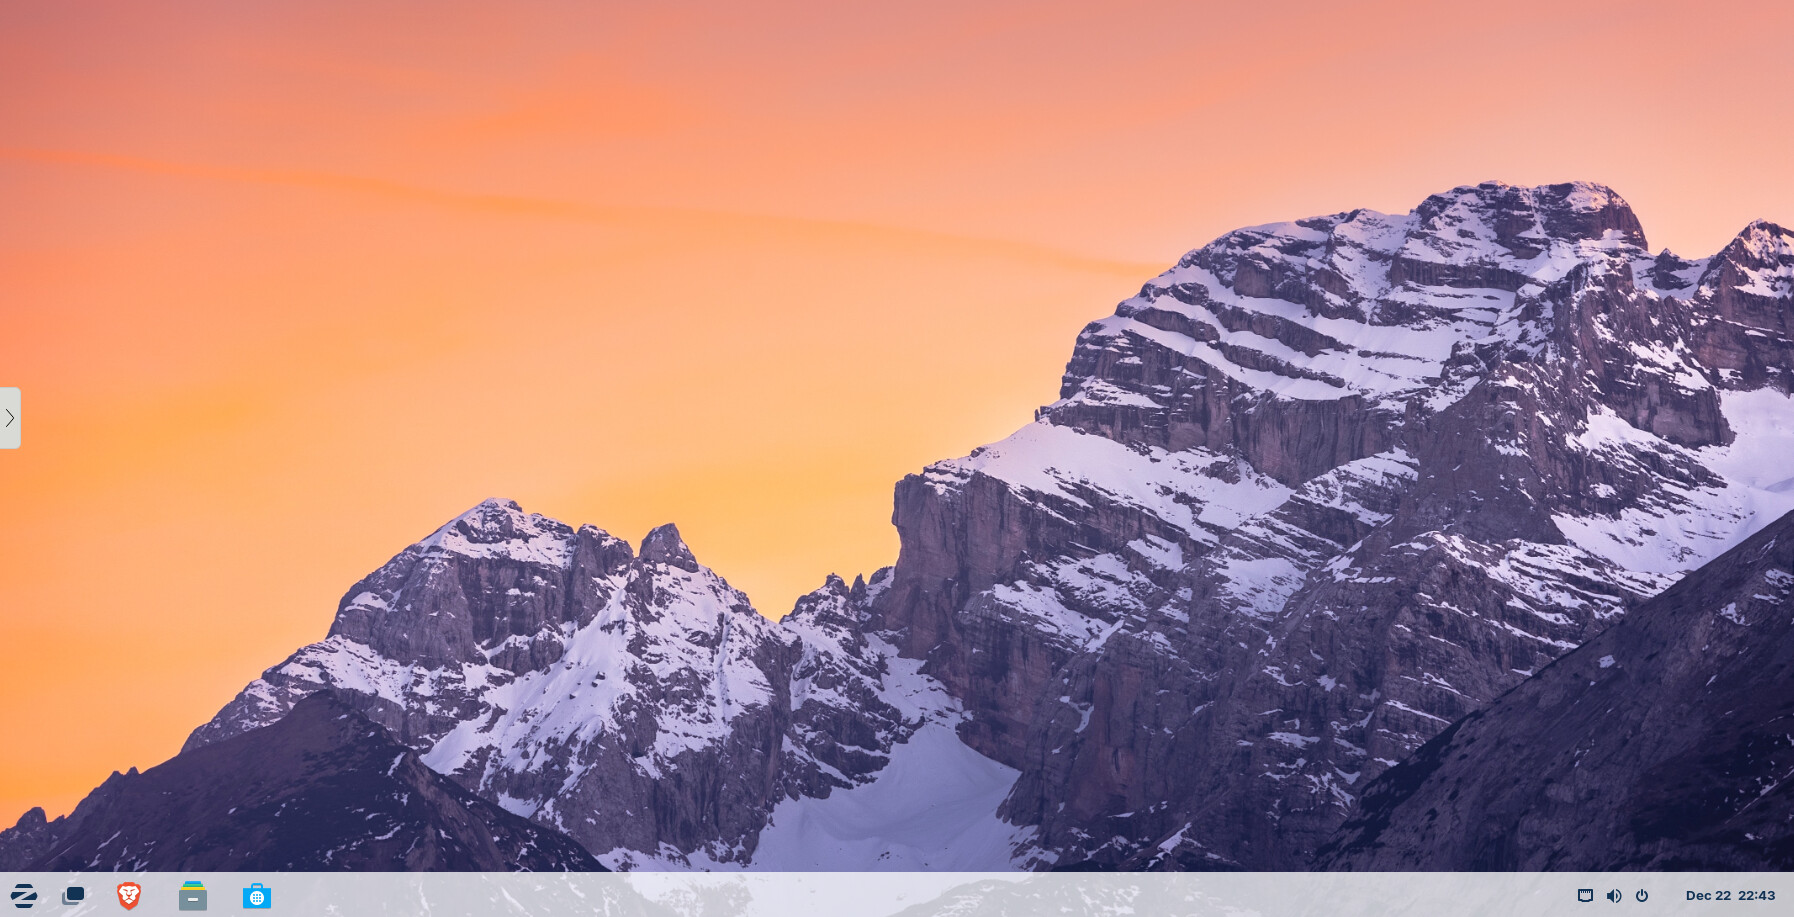
4. Click Start and you will be redirected to the Zorin desktop session inside your web browser.
Conclusion
Deploying ThinLinc on Zorin OS gives you a clean, modern, and highly stable Linux remote desktop solution. You now have a system where multiple users can securely log in through a browser or client, run full desktop sessions, and manage everything through a web-based admin panel.